DSAR User Groups
Overview
The User Group feature in the DSAR configuration module helps organizations manage email notifications efficiently during different workflow phases. By grouping multiple email addresses under one user group, administrators can ensure timely communication with relevant stakeholders. These groups can be added to phases like Validation and Process to Automate alerts when requests are validated or actions are completed.This feature also allows easy editing of groups by adding or removing emails, keeping notifications accurate and up to date.
- Log in to the Data Governance Tool.
Once logged in, the Data Governance Tool displays the Main Screen.
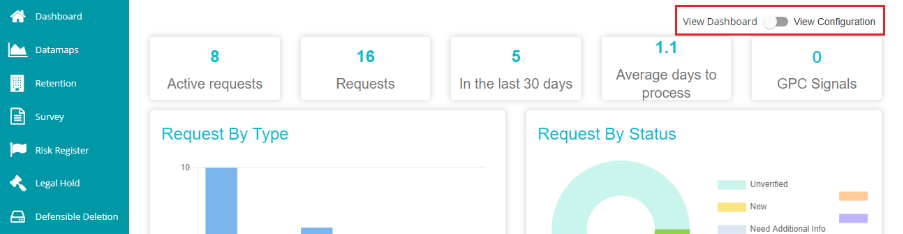
Navigate to the DSA Request module on the hamburger menu.

- Toggle the 'View Dashboard' button to 'View Configuration' to see the DSAR configurations.
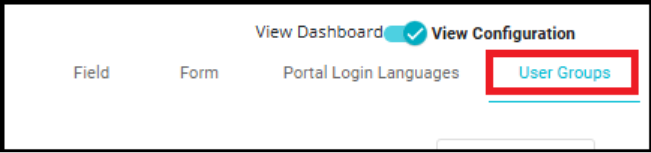
- Navigate to the 'User Groups' tab on the DSAR Configuration screen.
Steps to create a new User Group
- Click on the "+ Add Group" button.
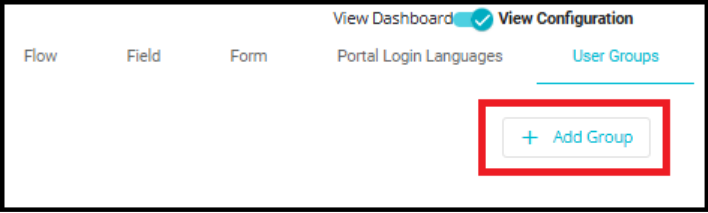
- "+ Add Group" button is used to create a new user group.

- Enter the Group Name in the text box under the Name column.
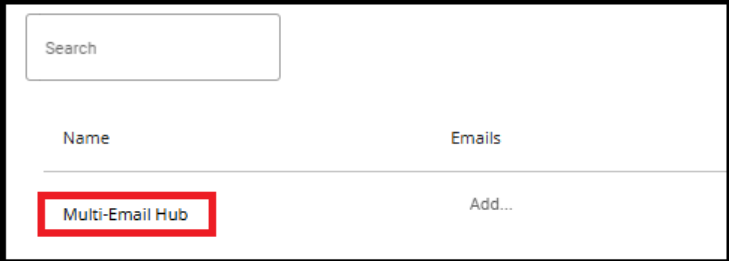
- Add Email Addresses in the field under the Emails column. This will allow multiple entries to be added one by one.
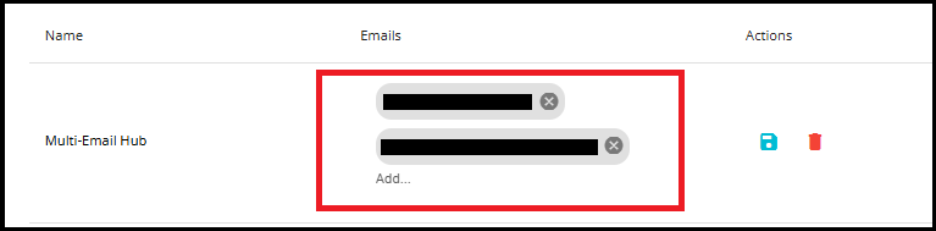
Click the Save icon (blue disk) to confirm and create the group.
If needed, use the Delete icon (red trash bin) to remove the group.
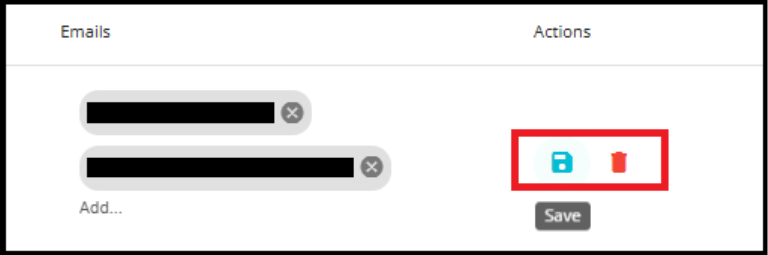
- After clicking the Save icon, a confirmation message will appear at the bottom of the page stating, "Group is created successfully!".

Once the group is created, you can add this email group in the DSR flow.
Navigate to the 'Flow' tab, then under "Select Emails and User Groups", select the email addresses or the newly created email group.

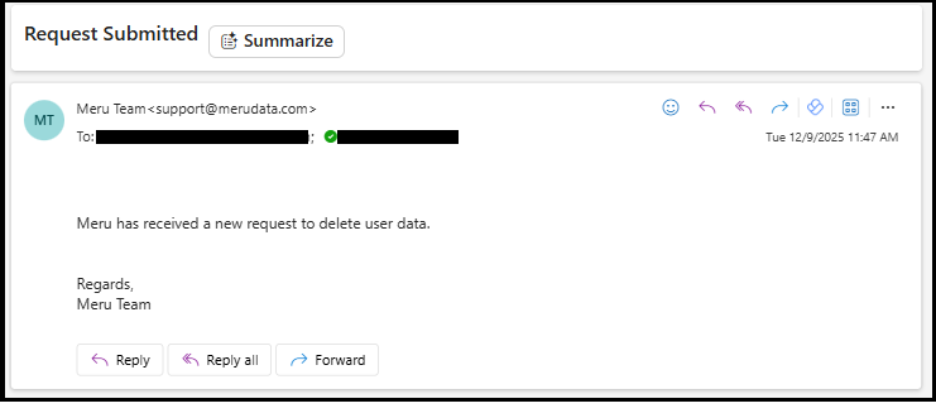
When an email address or an email group is added under Alert Email, those recipients will receive notifications for all major process events, such as when a new request is submitted, an email is verified,additional information is provided, an validate action item is completed and a process action item is completed.
The user group named "Multi-Email Hub" contains two email addresses, then both recipients will receive all notifications for the major process events whenever that group is added under Alert Email.
Below are few examples of the emails sent to the Alert Email group:
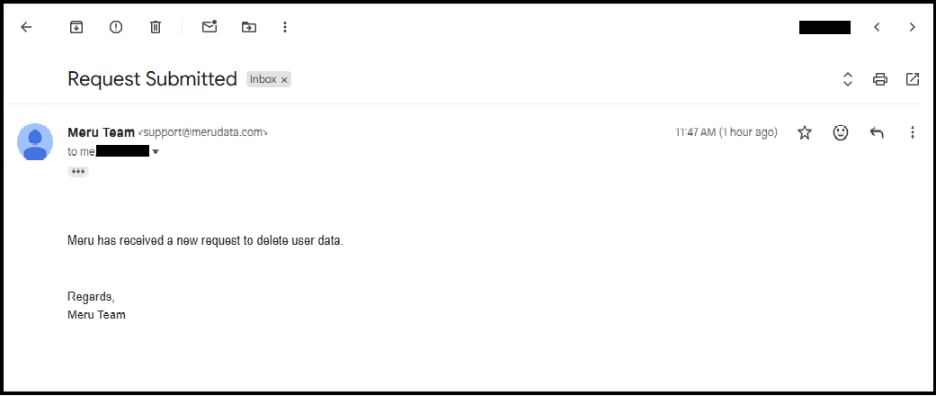
Request Submitted Notification
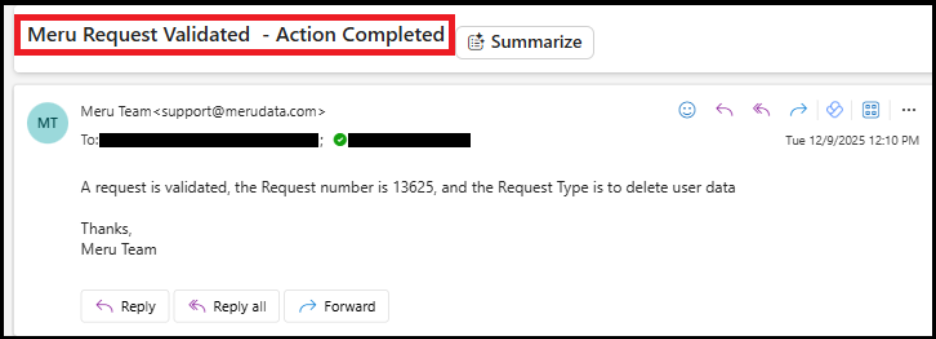
Validate Action Completed Notification.

Adding Email Groups in the Validation Phase
- If an email address or email group is assigned under the Validation phase, they will receive the relevant action items that require validation. Their role is to review and confirm the submitted details.
Steps:
- Navigate to the In Validation phase in the workflow configuration.

- When creating a DSAR request, you can specify whether the request is for yourself or on behalf of another individual.
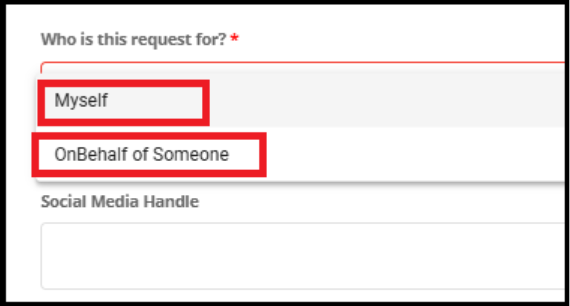
- Selecting "On Behalf of Someone" triggers the workflow where the On Behalf Action Item configuration becomes relevant. In this case, the user group added under Emails and User Groups will receive the action items that require validation of the submitted details.

If you select "Myself," the user group added in the "Create Action Item" field will receive the action items that require validation of the submitted details.
Click Create Action Item to configure the action.
Add user groups to the Email To field.

Adding Email Groups in the Process Phase
- Navigate to the In Process phase in the workflow configuration.
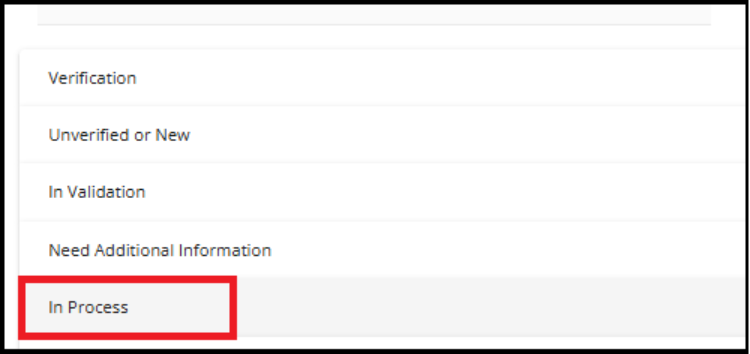
- In the Process phase, you can configure email notifications by adding a user group under the "Email To" field when creating an Action Item. This ensures that the selected email address or email group is assigned under the Process phase; they will receive the action items that require execution. Their responsibility is to perform the necessary process steps as part of the workflow.

Steps to Edit an Existing User Group
- Search for the User Group
- Use the Search bar at the top of the User Groups screen to locate the group you want to edit.
- To Remove the Existing Email
- In the Emails column, click the "X" icon next to the email address you want to remove.
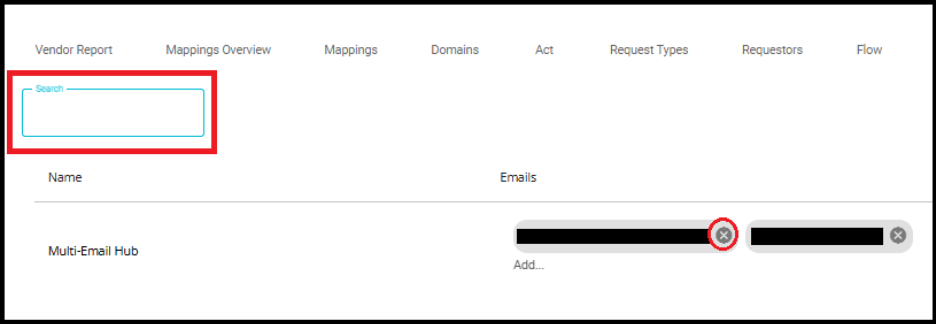
- To Add a New Email Address
Enter the new email address in the Add... field.
Press Enter to confirm the addition.
- Save the Changes
Click the Save icon (blue disk) to update the user group with the new email address.
After clicking the Save icon, a confirmation message will appear at the bottom of the page stating, "Group is updated successfully!".
